
This tutorial shows you how to build an Android application using TensorFlow Lite to classify natural language text. This application is designed for a physical Android device but can also run on a device emulator.
The example application uses TensorFlow Lite to classify text as either positive or negative, using the Task library for natural language (NL) to enable execution of the text classification machine learning models.
If you are updating an existing project, you can use the example application as a reference or template. For instructions on how to add text classification to an existing application, refer to Updating and modifying your application.
Text classification overview
Text classification is the machine learning task of assigning a set of predefined categories to open-ended text. A text classification model is trained on a corpus of natural language text, where words or phrases are manually classified.
The trained model receives text as input and attempts to categorize the text according to the set of known classes it was trained to classify. For example, the models in this example accept a snippet of text and determines whether the sentiment of the text is positive or negative. For each snippet of text, the text classification model outputs a score that indicates the confidence of the text being correctly classified as either positive or negative.
For more information on how the models in this tutorial are generated, refer to the Text classification with TensorFlow Lite Model Maker tutorial.
Models and dataset
This tutorial uses models that were trained using the SST-2 (Stanford Sentiment Treebank) dataset. SST-2 contains 67,349 movie reviews for training and 872 movie reviews for testing, with each review categorized as either positive or negative. The models used in this app were trained using the TensorFlow Lite Model Maker tool.
The example application uses the following pre-trained models:
Average Word Vector (
NLClassifier) - The Task Library'sNLClassifierclassifies input text into different categories, and can handle most text classification models.MobileBERT (
BertNLClassifier) - The Task Library'sBertNLClassifieris similar to the NLClassifier but is tailored for cases that require out-of-graph Wordpiece and Sentencepiece tokenizations.
Setup and run the example app
To setup the text classification application, download the example app from GitHub and run it using Android Studio.
System requirements
- Android Studio version 2021.1.1 (Bumblebee) or higher.
- Android SDK version 31 or higher
- Android device with a minimum OS version of SDK 21 (Android 7.0 - Nougat) with developer mode enabled, or an Android Emulator.
Get the example code
Create a local copy of the example code. You will use this code to create a project in Android Studio and run the example application.
To clone and setup the example code:
- Clone the git repository
git clone https://github.com/tensorflow/examples.git
- Optionally, configure your git instance to use sparse checkout, so you have only
the files for the text classification example app:
cd examples
git sparse-checkout init --cone
git sparse-checkout set lite/examples/text_classification/android
Import and run the project
Create a project from the downloaded example code, build the project, and then run it.
To import and build the example code project:
- Start Android Studio.
- From the Android Studio, select File > New > Import Project.
- Navigate to the example code directory containing the build.gradle file
(
.../examples/lite/examples/text_classification/android/build.gradle) and select that directory. - If Android Studio requests a Gradle Sync, choose OK.
- Ensure that your Android device is connected to your computer and developer
mode is enabled. Click the green
Runarrow.
If you select the correct directory, Android Studio creates a new project and
builds it. This process can take a few minutes, depending on the speed of your
computer and if you have used Android Studio for other projects. When the build
completes, the Android Studio displays a BUILD SUCCESSFUL message in the
Build Output status panel.
To run the project:
- From Android Studio, run the project by selecting Run > Run….
- Select an attached Android device (or emulator) to test the app.
Using the application
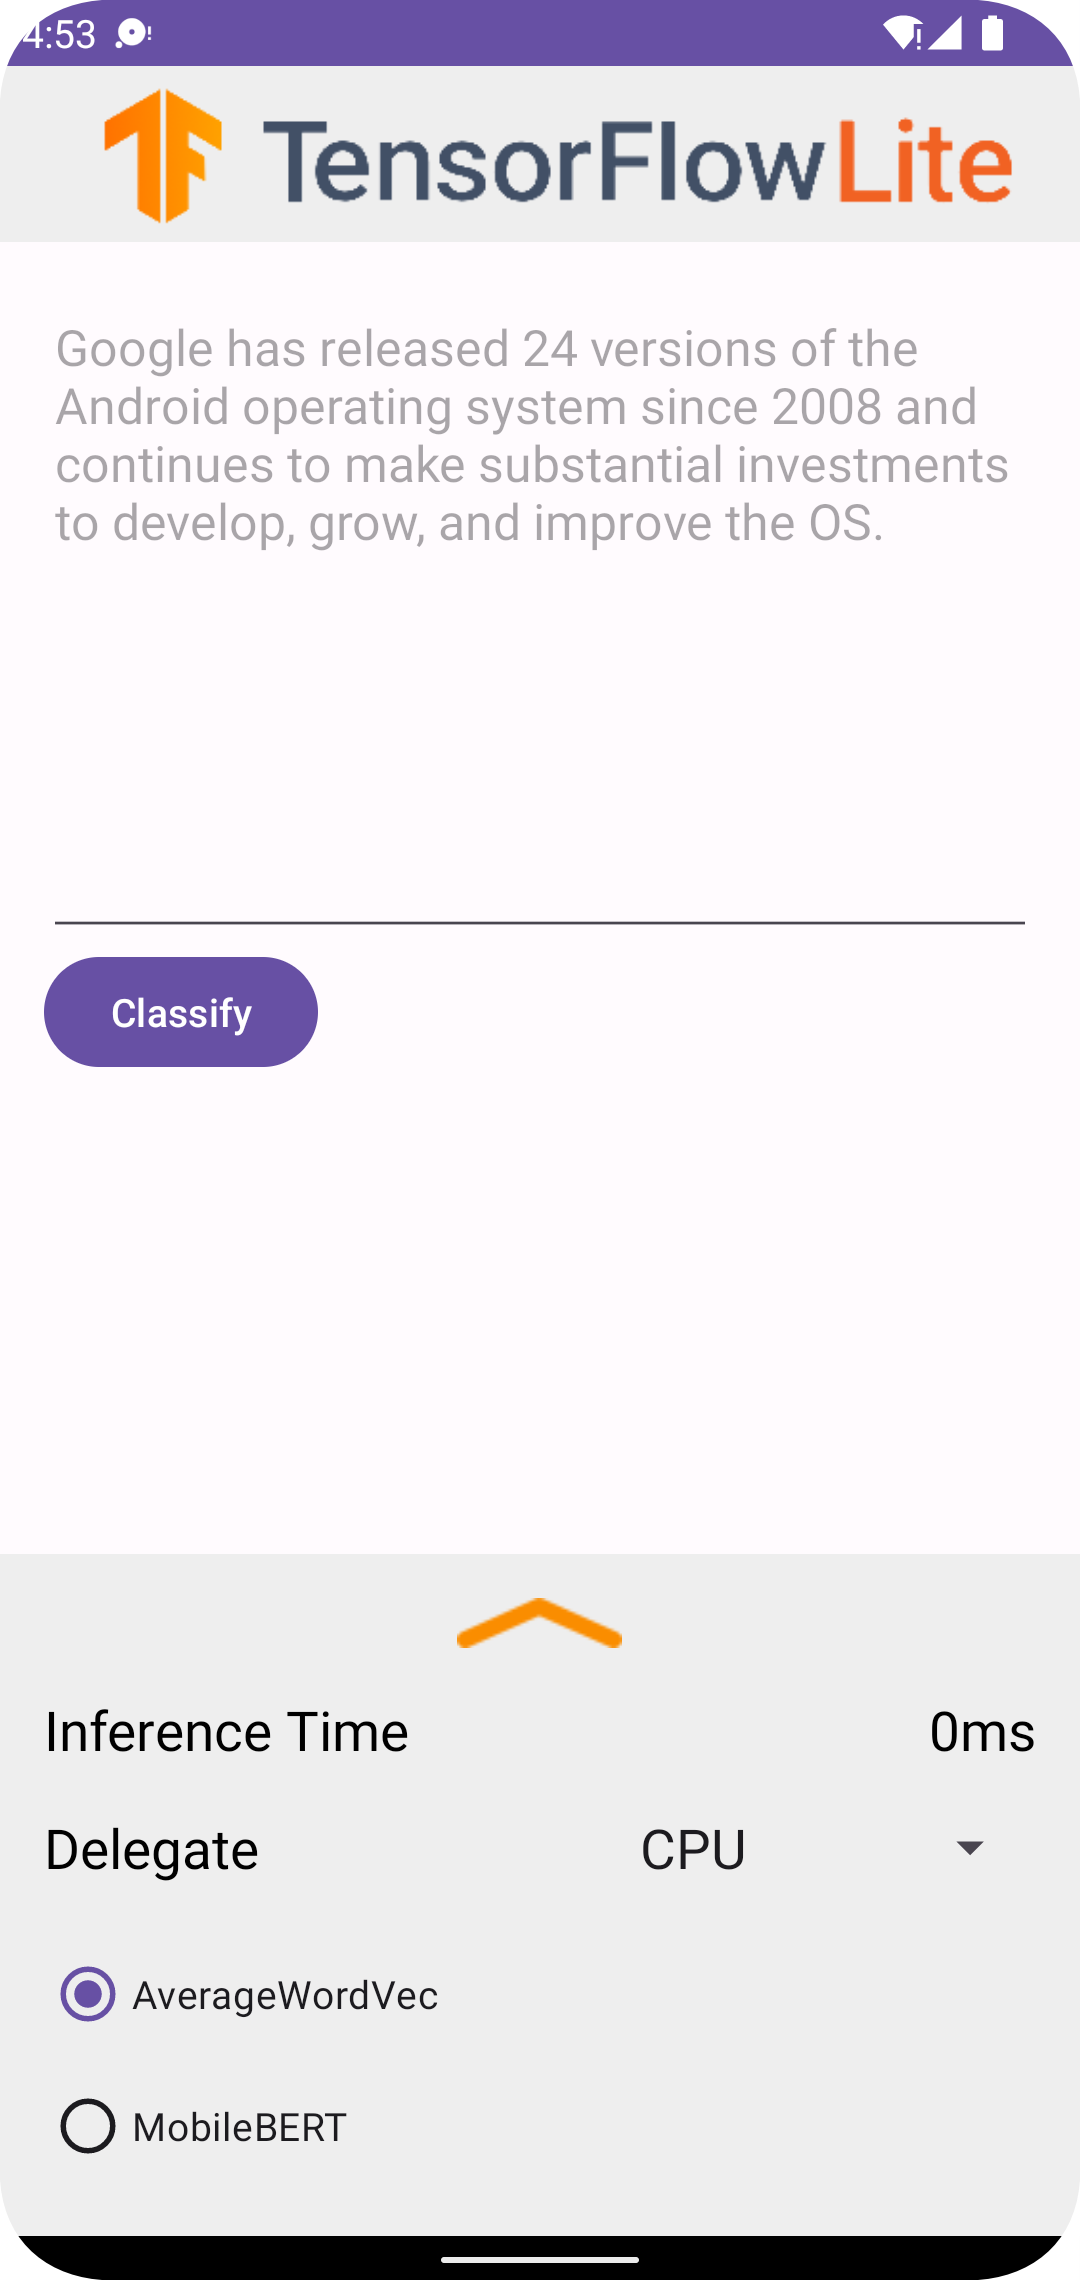
After running the project in Android Studio, the application will automatically open on the connected device or device emulator.
To use the text classifier:
- Enter a snippet of text in the text box.
- From the Delegate drop-down, choose either
CPUorNNAPI. - Specify a model by choosing either
AverageWordVecorMobileBERT. - Choose Classify.
The application outputs a positive score and a negative score. These two scores will sum to 1, and measures the likelihood that the sentiment of the input text is positive or negative. A higher number denotes a higher level of confidence.
You now have a functioning text classification application. Use the following sections to better understand how the example application works, and how to implement text classification features to your production applications:
How the application works - A walkthrough of the structure and key files of the example application.
Modify your application - Instructions on adding text classification to an existing application.
How the example app works
The application uses the Task library for natural language (NL) package to implement the text classification models. The two models, Average Word Vector and MobileBERT, were trained using the TensorFlow Lite Model Maker. The application runs on CPU by default, with the option of hardware acceleration using the NNAPI delegate.
The following files and directories contain the crucial code for this text classification application:
- TextClassificationHelper.kt - Initializes the text classifier and handles the model and delegate selection.
- MainActivity.kt -
Implements the application, including calling
TextClassificationHelperandResultsAdapter. - ResultsAdapter.kt - Handles and formats the results.
Modify your application
The following sections explain the key steps to modify your own Android app to run the model shown in the example app. These instructions use the example app as a reference point. The specific changes needed for your own app may vary from the example app.
Open or create an Android project
You need an Android development project in Android Studio to follow along with the rest of these instructions. Follow the instructions below to open an existing project or create a new one.
To open an existing Android development project:
- In Android Studio, select File > Open and select an existing project.
To create a basic Android development project:
- Follow the instructions in Android Studio to Create a basic project.
For more information on using Android Studio, refer to the Android Studio documentation.
Add project dependencies
In your own application, you must add specific project dependencies to run TensorFlow Lite machine learning models, and access utility functions that convert data such as strings, into a tensor data format that can be processed by the model you are using.
The following instructions explain how to add the required project and module dependencies to your own Android app project.
To add module dependencies:
In the module that uses TensorFlow Lite, update the module's
build.gradlefile to include the following dependencies.In the example application, the dependencies are located in app/build.gradle:
dependencies {
  ...
  implementation 'org.tensorflow:tensorflow-lite-task-text:0.4.0'
}
The project must include the Text task library (
tensorflow-lite-task-text).If you want to modify this app to run on a graphics processing unit (GPU), the GPU library (
tensorflow-lite-gpu-delegate-plugin) provides the infrastructure to run the app on GPU, and Delegate (tensorflow-lite-gpu) provides the compatibility list. Running this app on GPU is outside the scope of this tutorial.In Android Studio, sync the project dependencies by selecting: File > Sync Project with Gradle Files.
Initialize the ML models
In your Android app, you must initialize the TensorFlow Lite machine learning model with parameters before running predictions with the model.
A TensorFlow Lite model is stored as a *.tflite file. The model file contains
the prediction logic and typically includes
metadata about how to interpret prediction
results, such as prediction class names. Typically, model files are stored in
the src/main/assets directory of your development project, as in the code
example:
<project>/src/main/assets/mobilebert.tflite<project>/src/main/assets/wordvec.tflite
For convenience and code readability, the example declares a companion object that defines the settings for the model.
To initialize the model in your app:
Create a companion object to define the settings for the model. In the example application, this object is located in TextClassificationHelper.kt:
companion object {
  const val DELEGATE_CPU = 0
  const val DELEGATE_NNAPI = 1
  const val WORD_VEC = "wordvec.tflite"
  const val MOBILEBERT = "mobilebert.tflite"
}
Create the settings for the model by building a classifier object, and construct a TensorFlow Lite object using either
BertNLClassifierorNLClassifier.In the example application, this is located in the
initClassifierfunction within TextClassificationHelper.kt:fun initClassifier() { ... if( currentModel == MOBILEBERT ) { ... bertClassifier = BertNLClassifier.createFromFileAndOptions( context, MOBILEBERT, options) } else if (currentModel == WORD_VEC) { ... nlClassifier = NLClassifier.createFromFileAndOptions( context, WORD_VEC, options) } }
Enable hardware acceleration (optional)
When initializing a TensorFlow Lite model in your app, you should consider using hardware acceleration features to speed up the prediction calculations of the model. TensorFlow Lite delegates are software modules that accelerate execution of machine learning models using specialized processing hardware on a mobile device, such as graphics processing unit (GPUs) or tensor processing units (TPUs).
To enable hardware acceleration in your app:
Create a variable to define the delegate that the application will use. In the example application, this variable is located early in TextClassificationHelper.kt:
var currentDelegate: Int = 0Create a delegate selector. In the example application, the delegate selector is located in the
initClassifierfunction within TextClassificationHelper.kt:val baseOptionsBuilder = BaseOptions.builder() when (currentDelegate) { DELEGATE_CPU -> { // Default } DELEGATE_NNAPI -> { baseOptionsBuilder.useNnapi() } }
Using delegates for running TensorFlow Lite models is recommended, but not required. For more information about using delegates with TensorFlow Lite, see TensorFlow Lite Delegates.
Prepare data for the model
In your Android app, your code provides data to the model for interpretation by transforming existing data such as raw text into a Tensor data format that can be processed by your model. The data in a Tensor you pass to a model must have specific dimensions, or shape, that matches the format of data used to train the model.
This text classification app accepts a string as input, and the models are trained exclusively on an English language corpus. Special characters and non-English words are ignored during inference.
To provide text data to the model:
Ensure that the
initClassifierfunction contains the code for the delegate and models, as explained in the Initialize the ML models and Enable hardware acceleration sections.Use the
initblock to call theinitClassifierfunction. In the example application, theinitis located in TextClassificationHelper.kt:init { initClassifier() }
Run predictions
In your Android app, once you have initialized either a BertNLClassifier or NLClassifier object, you can begin feeding input text for the model to categorize as "positive" or "negative".
To run predictions:
Create a
classifyfunction, which uses the selected classifier (currentModel) and measures the time taken to classify the input text (inferenceTime). In the example application, theclassifyfunction is located in TextClassificationHelper.kt:fun classify(text: String) { executor = ScheduledThreadPoolExecutor(1) executor.execute { val results: List<Category> // inferenceTime is the amount of time, in milliseconds, that it takes to // classify the input text. var inferenceTime = SystemClock.uptimeMillis() // Use the appropriate classifier based on the selected model if(currentModel == MOBILEBERT) { results = bertClassifier.classify(text) } else { results = nlClassifier.classify(text) } inferenceTime = SystemClock.uptimeMillis() - inferenceTime listener.onResult(results, inferenceTime) } }Pass the results from
classifyto the listener object.fun classify(text: String) { ... listener.onResult(results, inferenceTime) }
Handle model output
After you input a line of text, the model produces a prediction score, expressed as a Float, between 0 and 1 for the 'positive' and 'negative' categories.
To get the prediction results from the model:
Create an
onResultfunction for the listener object to handle the output. In the example application, the listener object is located in MainActivity.ktprivate val listener = object : TextClassificationHelper.TextResultsListener { override fun onResult(results: List<Category>, inferenceTime: Long) { runOnUiThread { activityMainBinding.bottomSheetLayout.inferenceTimeVal.text = String.format("%d ms", inferenceTime) adapter.resultsList = results.sortedByDescending { it.score } adapter.notifyDataSetChanged() } } ... }Add an
onErrorfunction to the listener object to handle errors:private val listener = object : TextClassificationHelper.TextResultsListener { ... override fun onError(error: String) { Toast.makeText(this@MainActivity, error, Toast.LENGTH_SHORT).show() } }
Once the model has returned a set of prediction results, your application can act on those predictions by presenting the result to your user or executing additional logic. The example application lists the prediction scores in the user interface.
Next steps
- Train and implement the models from scratch with the Text classification with TensorFlow Lite Model Maker tutorial.
- Explore more text processing tools for TensorFlow.
- Download other BERT models on TensorFlow Hub.
- Explore various uses of TensorFlow Lite in the examples.
- Learn more about using machine learning models with TensorFlow Lite in the Models section.
- Learn more about implementing machine learning in your mobile application in the TensorFlow Lite Developer Guide.